字数
344 字
阅读时间
2 分钟
前置操作
配置本地镜像源
挂载ISO镜像
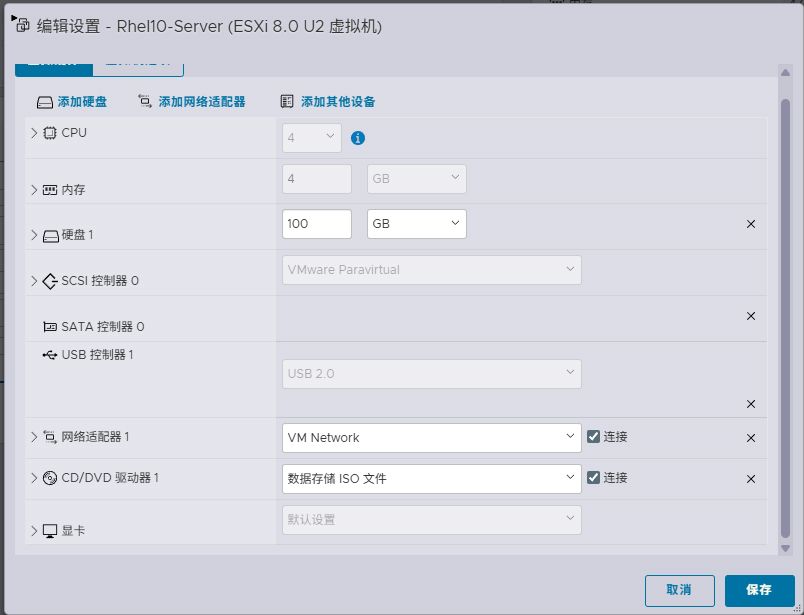
在虚拟机中将ISO镜像挂载到虚拟机中 [[295483034c1e8c030cbbabe0942a4a92_MD5.jpeg|Open: Pasted image 20250916200329.png]] 
 在Bash中输入
bash
mkdir -p /media
mount /dev/sr0 /media这里会提示:mount: /mnt/iso: WARNING: source write-protected, mounted read-only. 这个意思是挂载的文件为只可读文件,只是一个提示,不需要管 [[8b89c33168c624c138272149c41d420d_MD5.jpeg|Open: Pasted image 20250916200625.png]] 
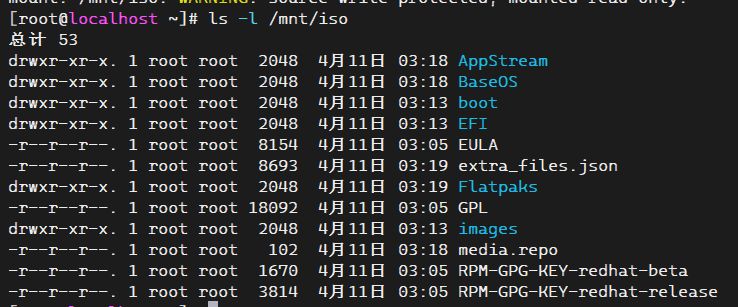 如上图可以查看到挂载到/media中的文件
配置本地 DNF 源
创建repo文件
bash
vi /etc/yum.repos.d/local.repo文件如下
bash
[BaseOS]
name=Red Hat Enterprise Linux 9.5 - BaseOS
baseurl=file://media/BaseOS
enabled=1
gpgcheck=0

[AppStream]
name=Red Hat Enterprise Linux 9.5 - AppStream
baseurl=file://media/AppStream
enabled=1
gpgcheck=0
清理缓存并生效
bash
dnf clean all
dnf makecache
提示
运行的时候会提示:
正在更新 Subscription Management 软件仓库。
无法读取客户身份

本系统尚未在权利服务器中注册。可使用 "rhc" 或 "subscription-manager" 进行注册。
直接输入
bash
dnf remove -y subscription-manager配置网络镜像源
vi /etc/yum.repos.d/rocky.repo文件如下:
[RockyLinux-Baseos]
name=Rocky Linux 9 - BaseOS
baseurl=https://mirrors.aliyun.com/rockylinux/9/BaseOS/x86_64/os/
enabled=1
gpgcheck=0

[RockyLinux-Appstream]
name=Rocky Linux 9 - AppStream
baseurl=https://mirrors.aliyun.com/rockylinux/9/AppStream/x86_64/os/
enabled=1
gpgcheck=0

[RockyLinux-PowerTools]
name=Rocky Linux 9 - CRB
baseurl=https://mirrors.aliyun.com/rockylinux/9/CRB/x86_64/os/
enabled=1
gpgcheck=0

[RockyLinux-extras]
name=Rocky Linux 9 - Extras
baseurl=https://mirrors.aliyun.com/rockylinux/9/extras/x86_64/os/
gpgcheck=1
enabled=1
gpgkey=0
重建镜像源
dnf clean all
dnf makecache
贡献者
 lishu620